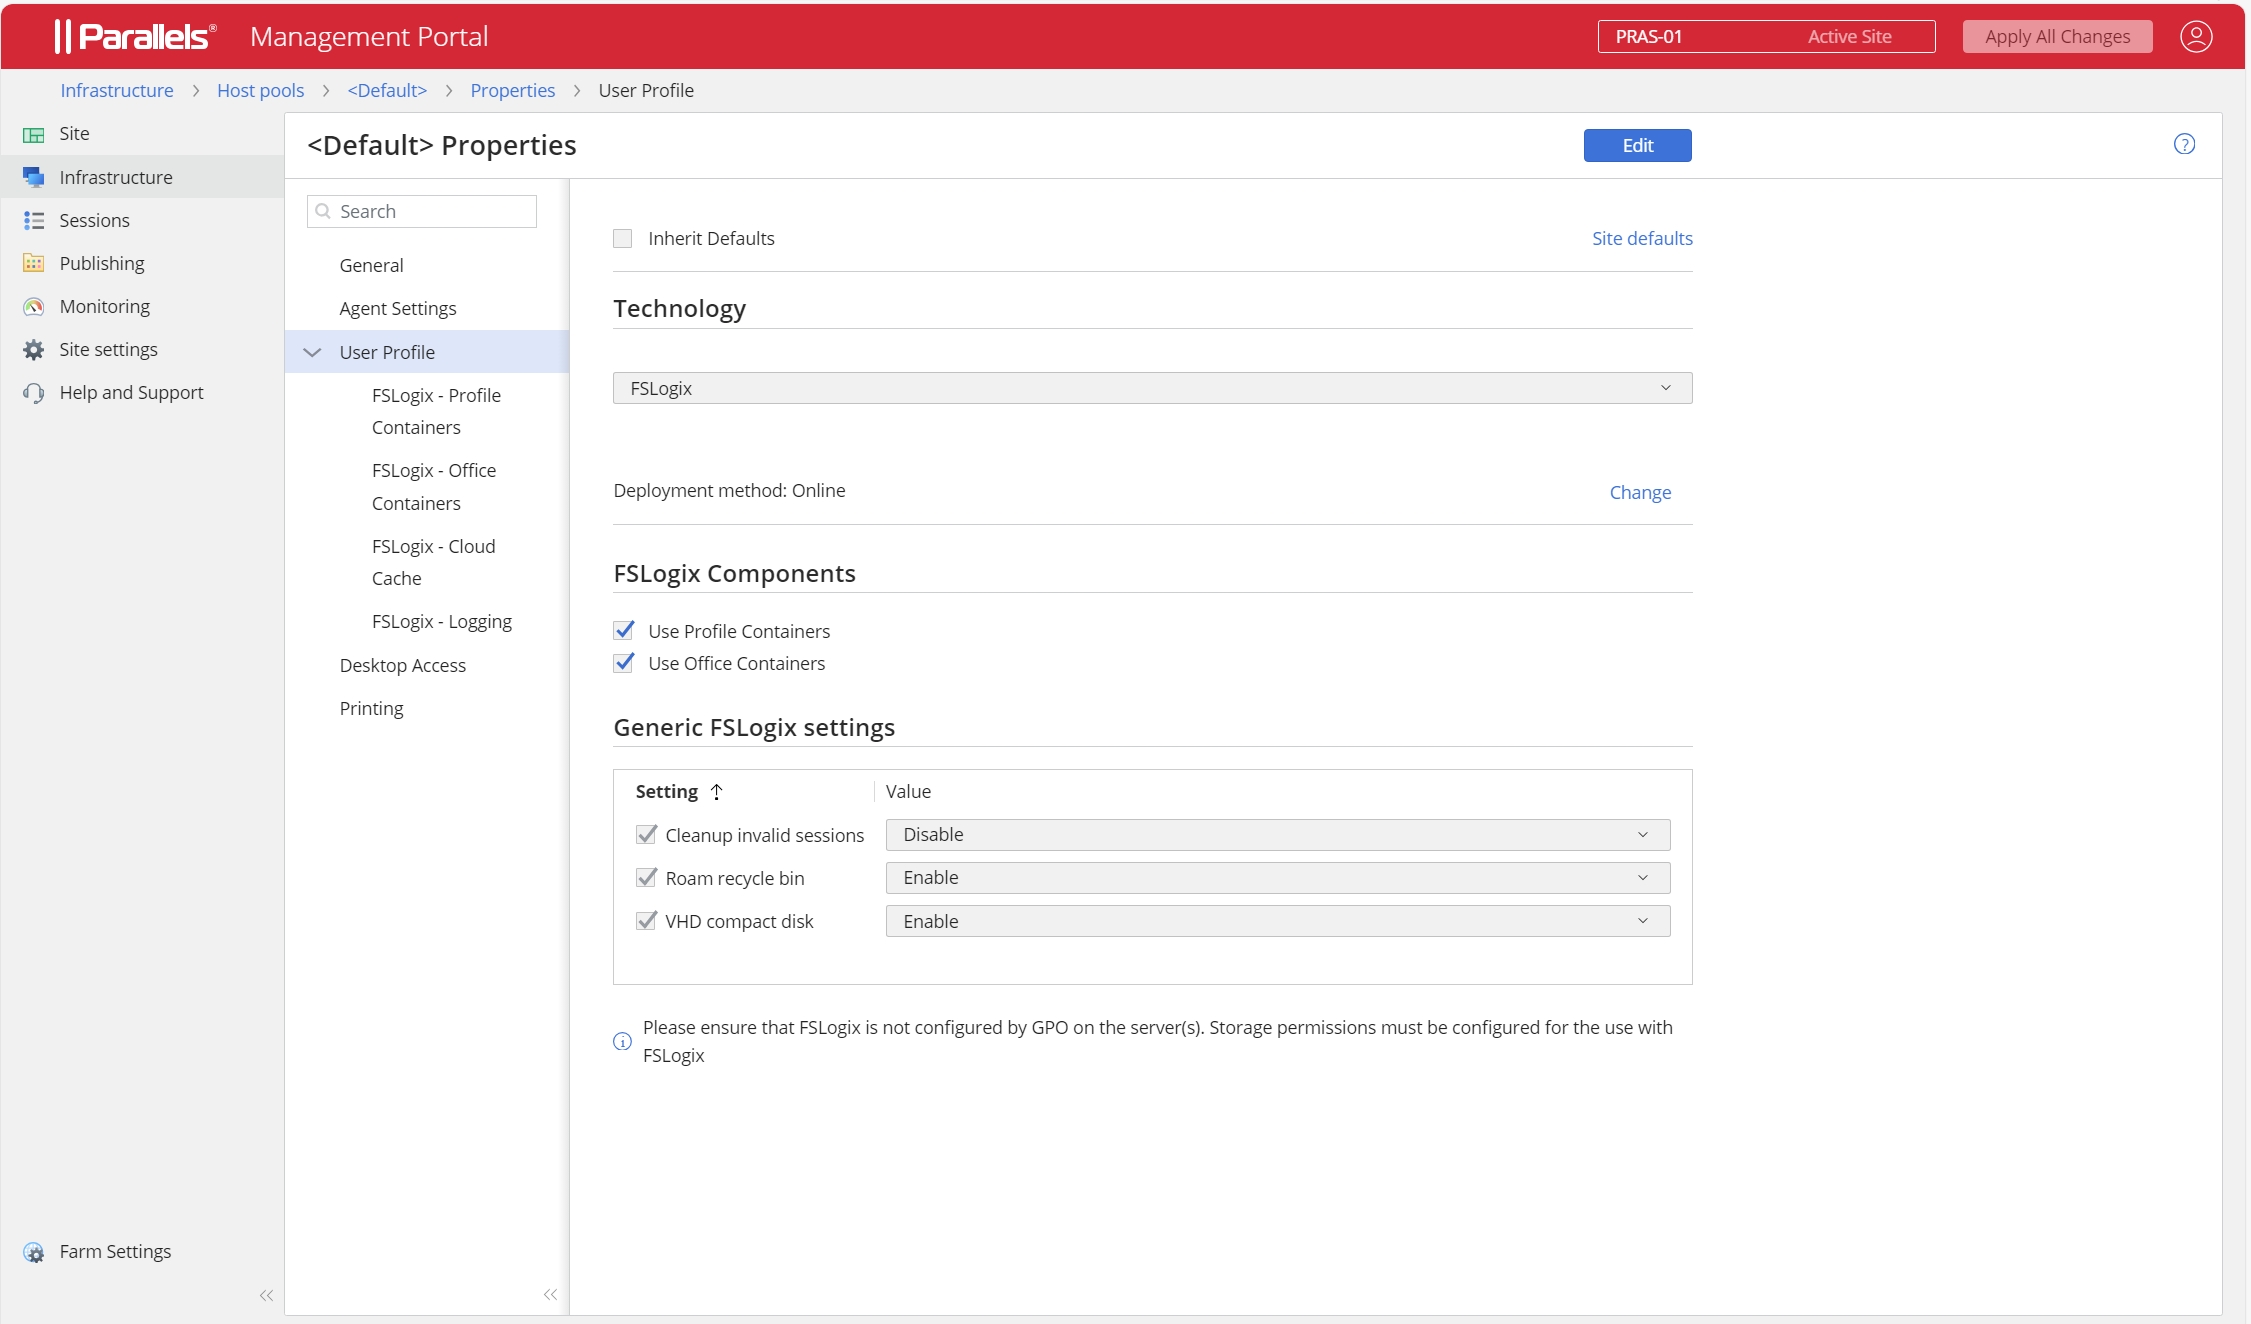
Note: at the time of writing, Parallels RAS Management Portal can configure FSLogix Profile Containers for RD Session Hosts only. For other host types, please use the desktop-based Parallels RAS Console.
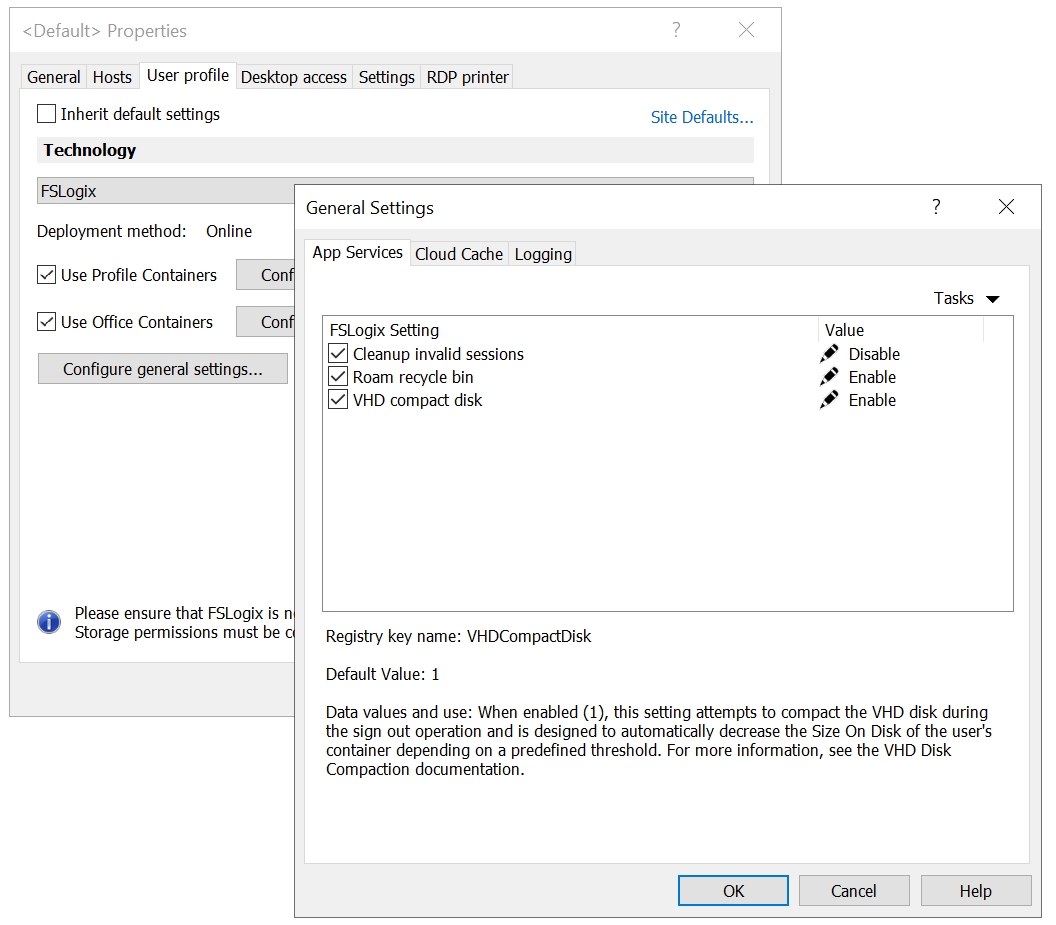
FSLogix can be configured on the User profile tab. To reach it follow the steps below.
RD Session Hosts:
In Parallels RAS Console, go to Farm > RD Session Hosts > Host pools.
Right-click the Host pool you need and select Properties.
Select the User profile tab.
In Parallels RAS Management Portal, go to Infrastructure > Host pools.
Select the host pool you need.
Go to Properties > User Profile.
VDI:
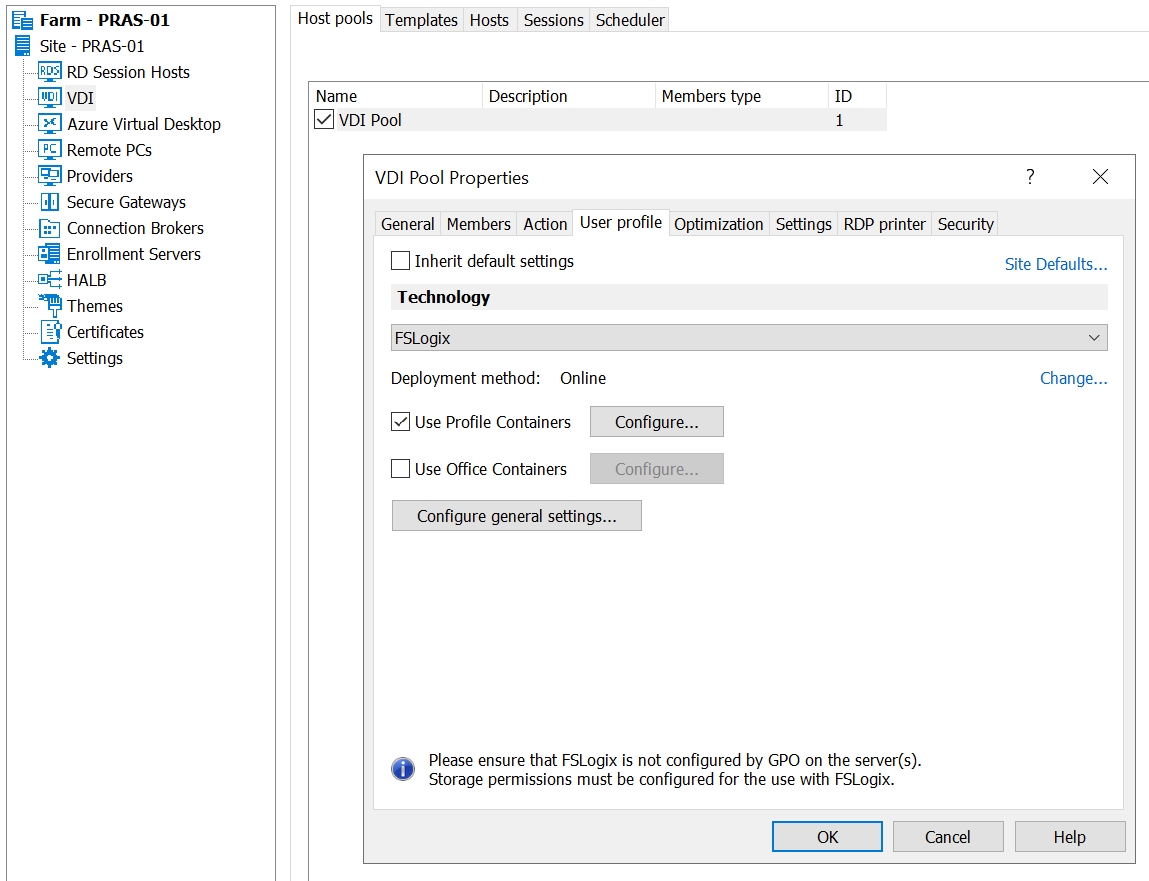
In Parallels RAS Console, go to Farm > VDI > Host pools tab.
Right-click the host pool you need and select Properties.
Select the User profile tab.
Azure Virtual Desktop:
In Parallels RAS Console, go to Farm > Azure Virtual Desktop > Host Pools tab.
Right-click the host pool that you need and select Properties.
Select the User Profile tab.
The most recent instructions are also available in Parallels RAS Administrator's Guide: https://download.parallels.com/ras/v19/docs/en_US/Parallels-RAS-19-Administrators-Guide.pdf
FSLogix configuration can either be enforced on an individual server or on multiple servers at once using host pools Group Defaults. For testing purposes, when configuring RDSH, it is recommended to test FSLogix configuration on a single machine before applying the settings to all machines.
To enable FSLogix on a single machine:
On the User Profile tab, clear the Inherit default settings checkbox.
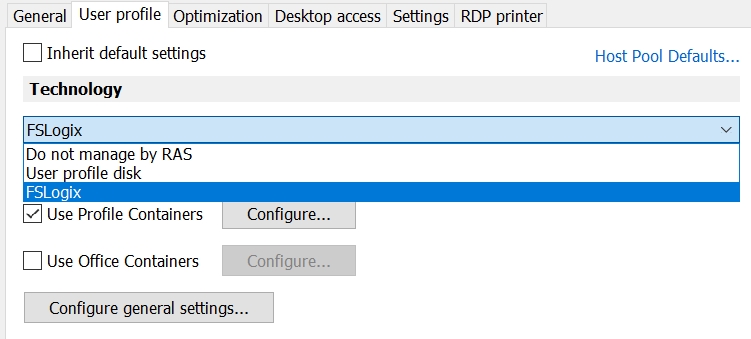
In the Technology the drop-down menu, select FSLogix.
FSLogix Profile Containers settings are described below.
Deployment method: Here you need to select a method that Parallels RAS will use to install FSLogix agent on individual hosts. You can select from one of the following:
Install manually: Select this option if you want to install FSLogix agent on every host yourself. If this option is selected, Parallels RAS will not attempt to install FSLogix on a host.
Install online: The default method. This option installs FSLogix agent on session hosts from the Internet. Select one of the Parallels supported FSLogix versions from the drop-down list or select Custom URL and specify a download URL. Click the Detect latest button to automatically obtain a URL of the latest FSLogix version.
Install from a network share: Select this option if you have the FSLogix installation files on a network share and specify its location.
Push from RAS Connection Broker: This option allows you to upload the FSLogix installation archive to the RAS Connection Broker server. When you enable FSLogix on a session host, it will be push installed on the host from the RAS Connection Broker server.
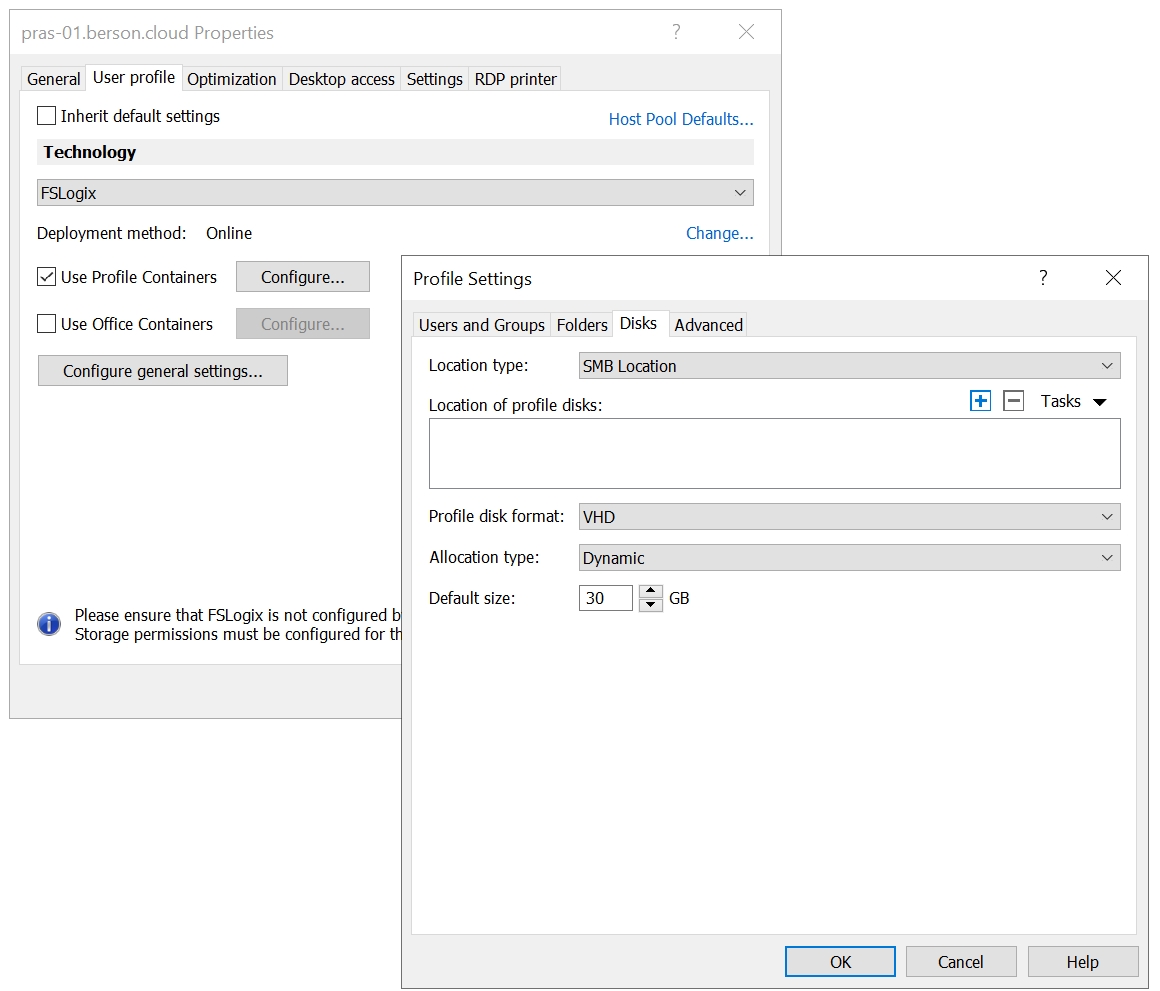
To configure the FSLogix profile container or Office Container disk details, select User Profile Containers or Use Office Containers and open the Disks tab.
Location type: Select a location type for profile disks (SMB Location or Cloud Cache).
Location of profile disks: Specify one or more locations per FSLogix requirements (https://docs.microsoft.com/en-us/fslogix/profile-container-configuration-reference). SMB Location stands for VHDLocations, Cloud Cache – CCDLocations.
Note: Ensure that the proper storage permissions are set for the location as described in section Required storage permissions.
Example SMB location:
The value is constructed as:
<\Location1\Folder1>
Example Cloud Cache based on an SMB location: :
The value is constructed as:
type=smb,connectionString=<\Location1\Folder1>
Example Cloud Cache based on Azure Page Blobs location:
The value is constructed as:
type=azure,connectionString=”|fslogix/ConnectionString|”
Note that ‘fslogix/ConnectionString’ is a reference to a system stored in Windows Credential Manager. That system credential contains the full string pointing to the Azure Page Blob. It is advised to use Windows Credential Manager because otherwise you would expose sensitive Azure credentials to any user who has access to the session host registry. The full string is constructed as:
"DefaultEndpointsProtocol=https;AccountName=<accountname>;AccountKey=<Accountkey>;EndpointSuffix=core.windows.net"
This string can be retrieved from your storage account in Azure. Inside the Azure Portal, navigate to the storage account, click Access Keys, and copy the contents of Connection String as shown below.
To create, delete, and view system credentials from Windows Credential Manager, use the frx.exe command which is a part of FSLogix. For example, to create a new system credential, run the following command:
C:\Program Files\FSLogix\Apps\frx.exe add-secure-key -key ConnectionString -value "DefaultEndpointsProtocol=https;AccountName=<accountname>;AccountKey=<Accountkey>;EndpointSuffix=core.windows.net" creates a key called ‘ConnectionString’, matching the previous example. Note that adding ‘fslogix/’ is not required as this is added automatically by frx.exe. For more information on working with Credentials Manager see https://learn.microsoft.com/en-us/fslogix/configure-cloud-cache-tutorial#protect-azure-key-with-credential-manager.
Profile disk format: Select from VHD or VHDX according to your requirements. VHDX is a newer format and has more features.
Allocation type: Select Dynamic or Full. This setting is used in conjunction with the Default size setting (see below) to manage the size of a profile. Dynamic causes the profile container to use the minimum space on disk, regardless of the allocated default size. As a user profile is filled with more data, the amount of data on the disk will grow to the size specified in the Default size but will never exceed it.
Default size: Specifies the size of newly created VHD(X) in megabytes.
Users and Groups: This tab allows specifying include and exclude user and group lists. By default, “Everyone” is added to the User inclusion list. If you want some user profiles to remain local, you can add those users to the exclude list. Users and groups can exist in both lists, but the exclude list takes priority in this case.
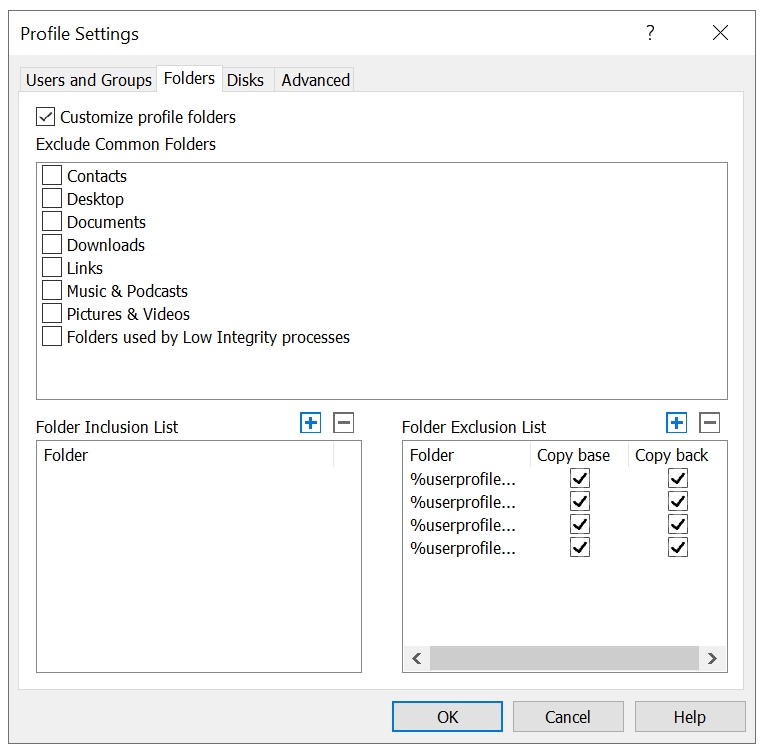
Folders: Here you may specify include and exclude lists for folders. Select from common folders or specify your own. Please note that folders must reside in the user profile path.
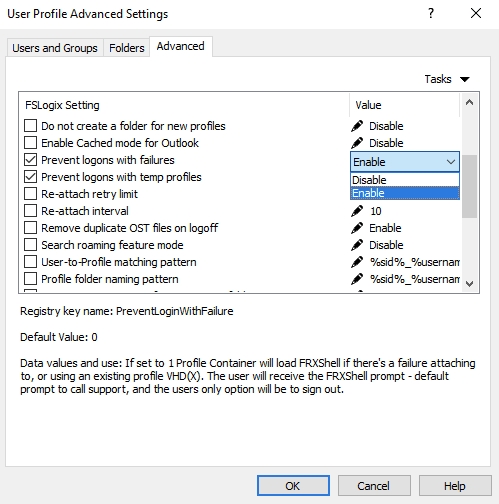
Advanced: This tab allows modifying advanced FSLogix Profile Container and Office Container settings. To modify a setting, highlight it and click the Edit button (alternatively, you may use the Tasks > Edit option from drop down menu in the upper right corner of the tab). Things to consider:
By default, all settings are disabled.
To enable a setting, select the checkbox in front of its name.
A description for each setting is provided in the same window.
Note: Please ensure that you’re familiar with the settings before modifying them. For further information regarding FSLogix Profile Containers configurations, see https://learn.microsoft.com/en-us/fslogix/reference-configuration-settings.
The Advanced tab of Profile Container settings allows you to change settings that are specific to Profile Container.
The Advanced tab of Office (ODFC) Container settings allows you to change settings that are specific to Office Container.
Configure general App Services settings
There are 3 settings that apply to both Profile and the Office Container.
To configure App Services settings:
Open the User profile tab.
Click Configure general settings and select the App Services tab.
Cleanup Invalid Sessions: In cases where a user's session terminates abruptly, the VHD(X) mounted for the user's profile isn't properly detached and the user's next sign-in may not successfully attach their VHD(X) container. Enable this setting, and FSLogix will attempts to clean up these invalid sessions and allow a successful sign-in.
Roam Recycle Bin: When enabled, this setting creates a redirection for the user's specific Recycle Bin into the VHD(X) container. This allows the user to restore items regardless of the machine from where they were deleted.
VHD Compact Disk: When enabled, this setting attempts to compact the VHD disk during the sign-out operation. It is designed to automatically reduce the?size of the container file depending on a predefined threshold.
When you enable FSLogix for a new host while running the wizard, no additional steps are necessary. On wizard completion, the host is rebooted and is added to the active load balancing. An existing host must be rebooted manually using the Tasks > Tools > Reboot menu option.
To reboot an existing host with Parallels RAS Management Portal:
Go to Infrastructure.
Select the RD Session Host that you need.
Go to Overview > expand Control > Reboot.


