> For the complete documentation index, see [llms.txt](https://docs.parallels.com/landing/llms.txt). Markdown versions of documentation pages are available by appending `.md` to page URLs; this page is available as [Markdown](https://docs.parallels.com/landing/pdfm-ug/v27-ja-jp/parallels-desktop-for-mac-27-yzzugaido/parallels-desktop-tomashin/mashin/opushon/gong-you-she-ding.md).

# 共有設定

**\[共有]** ペインで、仮想マシンの共有設定を表示および構成できます。

この設定を開くには、**\[アクション]** > **\[構成]** > **\[オプション]** を選択し、**\[共有]** をクリックします。

<figure><img src="https://content.gitbook.com/content/UmbH6Lp9Mv0rCplkFmMZ/blobs/VDjgYhEo4F5KpqicKVov/Screenshot%202024-01-19%20at%2016.37.45.png" alt="" width="563"><figcaption></figcaption></figure>

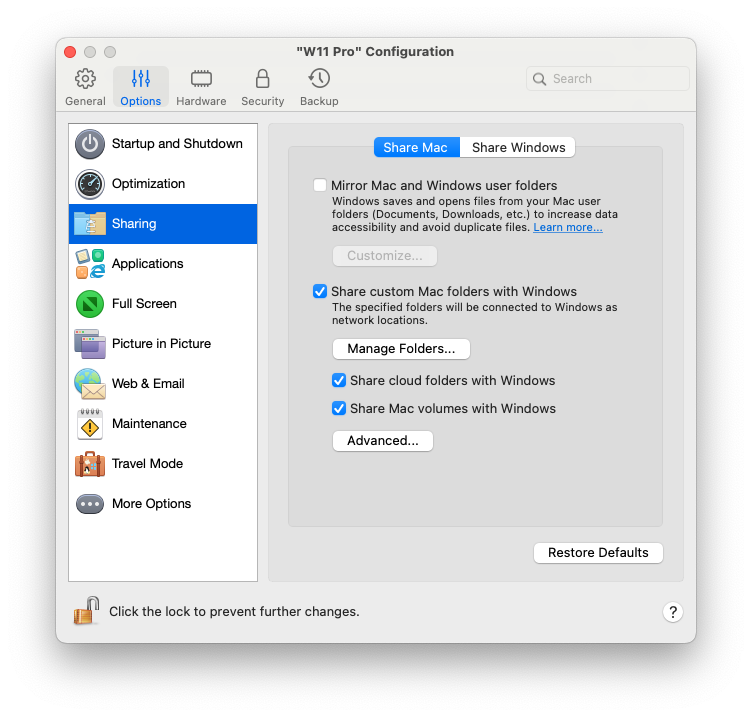
### **Mac を共有する**

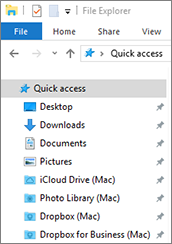
<table><thead><tr><th width="320">オプション</th><th>説明</th></tr></thead><tbody><tr><td><strong>Mac のカスタムフォルダーを Windows と共有する</strong></td><td><p>フォルダー共有が有効になると、共有されている macOS フォルダーに Windows アプリケーション内からアクセスできます。ファイルを開くと（たとえば、多くのアプリケーションでは <strong>[ファイル]</strong> > <strong>[開く]</strong> を選択する）、共有されている macOS フォルダーは "\\Mac" とラベルの付いたネットワーク共有ディレクトリとして表示されます。<br></p><p>macOS フォルダーを Windows アプリケーションと共有できるようにするには、以下のいずれかを実行します。</p><ul><li>ホームフォルダー内のフォルダーのみを共有するには <strong>[Windows と任意の Mac フォルダーを共有する]</strong> を有効にし、<strong>[フォルダーの管理...]</strong> をクリックします。その後ホームフォルダーを選択して、<strong>[OK]</strong> をクリックします。macOS のすべてのフォルダーを共有するには、Mac の名前のフォルダーを選択し、<strong>[OK]</strong> をクリックします。</li><li><p>任意のフォルダーを共有するには、<strong>[フォルダーを管理...]</strong> をクリックし、追加（+）ボタンをクリックして、共有するフォルダーを選択します。追加（+）ボタンを再度クリックすると、その他のフォルダーも追加できます。macOS フォルダーを Windows と共有すると、次のことを行えるようになります。</p><ul><li><strong>[オン]</strong> を選択解除し、フォルダーの共有を無効にする。</li><li><strong>[名前]</strong> カラムでフォルダー名をダブルクリックし、別の名前を入力して、Windows に表示されるフォルダー名を変更する。</li><li><strong>[権限]</strong> フォルダーで <strong>[読み取りおよび書き込み]</strong> をクリックして <strong>[読み取り専用]</strong> を選択することにより、このフォルダーへの書き込みを制限する。これにより、フォルダーにアイテムを追加できなくなります。</li></ul></li></ul></td></tr><tr><td><strong>Mac および Windows ユーザーフォルダーのミラーリング</strong></td><td><p>ミュージック、ドキュメント、ピクチャ、デスクトップ、削除されたファイルなどに対し、macOS と Windows で同じフォルダーを使用するよう設定できます。たとえば、Documents フォルダーにファイルを保存すると、macOS アプリケーションを使っていても、Windows アプリケーションを使っていても、ファイルは Documents フォルダーに保存されます。<br></p><p>この機能を有効にするには、<strong>[Mac および Windows ユーザーフォルダーのミラーリング]</strong> を選択します。<br></p><p>macOS の<code>[デスクトップ]</code>、<code>[Documents]</code>、<code>[ピクチャ]</code>、<code>[ミュージック]</code>、<code>[ムービー]</code>、および <code>[Downloads]</code> フォルダーを、対応する Windows のフォルダーと結合できます。<br><br><strong>注</strong>: バージョン 26.3 以降、新しく作成された仮想マシンでは、macOS の「<code>ムービー</code>」「<code>ミュージック</code>」「<code>ピクチャ</code>」フォルダの共有がデフォルトで無効化されています。以前に作成された仮想マシンは元の設定を保持します。<br></p><p>一部のフォルダーのみをマッピングする場合は、<strong>[カスタマイズ]</strong> をクリックし、必要なフォルダーを選択します。</p></td></tr><tr><td><p><strong>[クラウドフォルダーを Windows と共有]</strong></p><p>（macOS 仮想マシンでは、このオプションは、<strong>[クラウドフォルダーを Windows と共有]</strong> と呼ばれます）</p></td><td><p>iCloud、Dropbox、Google Drive をクラウドストレージとして macOS で使用している場合、これらのストレージの macOS フォルダーを Windows と簡単に共有することができます。共有を有効にすると、Windows 内部からこれらのサービスに保存したファイルをアップロード、ダウンロード、同期できるようになり、ハードディスクにファイルのコピーを作成する必要はありません。<br></p><p>macOS iCloud、Dropbox、Google Drive フォルダーを Windows と共有するには、以下の操作を行います。<br></p><p><strong>注:</strong> Parallels Desktop for Mac Pro Edition では、Dropbox for Business および Box のフォルダーを Windows と共有できます。</p><ol><li>macOS で iCloud、Dropbox、Google Drive をまだ設定していない場合、セットアップします。</li><li><strong>[クラウドフォルダーを Windows と共有]</strong> を選択します。</li><li>Windows にログインし、<strong>コンピューター</strong>を開きます。iCloud、Dropbox、Google Drive 用のフォルダーは <strong>[クイックアクセス]</strong>（または <strong>[お気に入り]</strong>）セクションで利用できます。これらを使用して、ファイルをクラウドにアップロードしたり、クラウドからダウンロードしたりできます。</li></ol><p><img src="https://337036503-files.gitbook.io/~/files/v0/b/gitbook-x-prod.appspot.com/o/spaces%2FUmbH6Lp9Mv0rCplkFmMZ%2Fuploads%2Fgit-blob-ae1601b7047005f219c792fcdfa9103eb47d4a35%2Fvm_configuration_sharing_win_quick_access.png?alt=media" alt="Share cloud storage" data-size="original"></p></td></tr><tr><td><p><strong>[Mac のボリュームを Windows に割り当てる]</strong></p><p>（macOS 仮想マシンでは、このオプションは、<strong>[Mac のボリュームを Windows に割り当てる]</strong> と呼ばれます）</p></td><td><p>USB デバイスなどの外部ストレージデバイスを Mac に接続すると、macOS アプリケーションからコンテンツにアクセスできます。<br></p><p>自動的にストレージデバイスおよびボリュームを Windows にマウントするよう Parallels Desktop で設定できます。そうすると、macOS と Windows の両方からコンテンツにアクセスできます。<br></p><p>次のアイテムを Windows にマウントできます。</p><ul><li><strong>リムーバブルドライブ</strong>: USB ハードディスクや USB フラッシュドライブなどの外部ストレージデバイス。</li><li><strong>CD/DVD ドライブ</strong>: CD および DVD ドライブ、またはマウントされた CD/DVD イメージ。</li><li><strong>ネットワークフォルダー</strong>: ネットワークで共有されるフォルダー。</li></ul><p>これらのアイテムを Windows に自動的にマウントするには、<strong>[Mac のボリュームを Windows に割り当てる]</strong>を選択します。<br></p><p>ストレージデバイスまたはボリュームを接続すると、ネットワークドライブとしてマウントされます。たとえば、Mac に差し込まれた USB フラッシュドライブは、macOS の <code>/Volumes</code> フォルダーおよび Windows の <code>[マイコンピューター]</code> の両方からアクセスできます。</p></td></tr><tr><td><strong>詳細</strong> > <strong>[ドライブ文字を共有フォルダーに割り当てる]</strong>（Parallels Desktop for Mac Pro と Business/Enterprise Editions のみ）</td><td>Windows と共有するすべての Mac フォルダーにドライブ文字を割り当てるには、このオプションを選択します。Mac 共有フォルダーに文字があると、Windows で容易にアクセスできます。このようなフォルダーは、<strong>[エクスプローラー]</strong>の <strong>[PC]</strong> セクションに表示されます。</td></tr><tr><td><strong>詳細</strong> > <strong>[実行ファイルの作成を許可する]</strong>（Parallels Desktop for Mac Pro と Business/Enterprise Editions のみ）</td><td>Windows と共有するすべての Mac フォルダーで実行可能ファイルを作成するには、このオプションを選択します。このオプションを選択すると、新しく作成したすべてのファイルが実行可能になります。</td></tr><tr><td><strong>詳細</strong> > <strong>[DOS 8.3 ファイル名を有効にする]</strong>（Parallels Desktop for Mac Pro と Business/Enterprise Editions のみ）</td><td>macOS で作成されたファイルには DOS 8.3 の名前がなく、一部の Windows アプリケーションはこのようなファイルでは正しく動作しません。Windows と共有するすべての Mac フォルダーにあるファイルに DOS 8.3 の名前を追加で作成するには、このオプションを選択します。</td></tr></tbody></table>

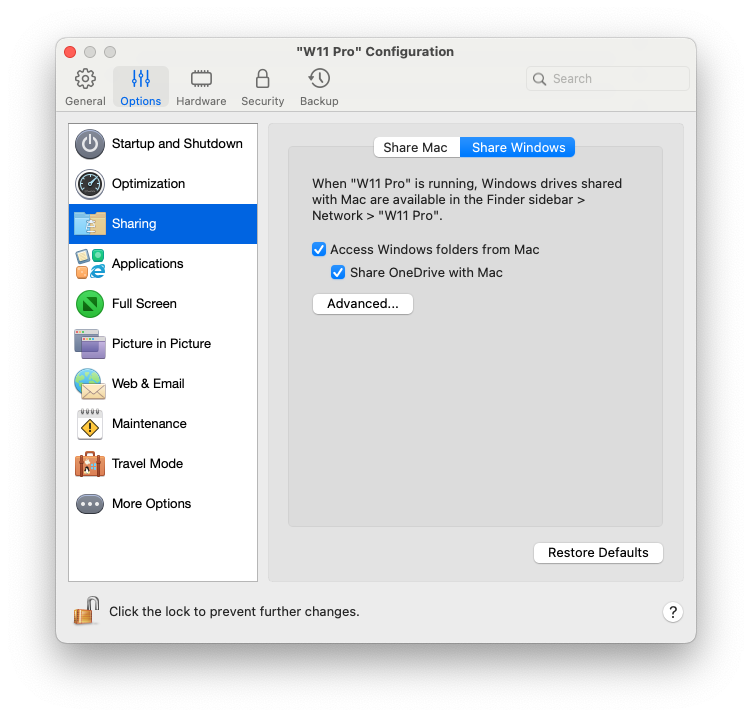
### **Windows を共有する**

<figure><img src="https://content.gitbook.com/content/UmbH6Lp9Mv0rCplkFmMZ/blobs/KEDlMIC3SaQy0B7R9fRX/Screenshot%202024-01-19%20at%2016.58.11.png" alt="" width="563"><figcaption></figcaption></figure>

<table><thead><tr><th width="323">オプション</th><th>説明</th></tr></thead><tbody><tr><td><strong>[Mac から Windows フォルダーへのアクセス]</strong></td><td>Mac から Windows フォルダーへのアクセスを許可するには、このオプションを選択します。</td></tr><tr><td><strong>OneDrive を Mac と共有する</strong></td><td><p>Microsoft OneDrive を使用してクラウドにファイルを保存している場合は、OneDrive フォルダーを macOS と簡単に共有できます。その後、macOS で OneDrive ファイルをアップロードまたはダウンロードできます。その際、ハードディスクでファイルを複製する必要はありません。<br></p><p><strong>注:</strong> OneDrive フォルダーを macOS と共有するには、Windows に OneDrive デスクトップアプリをインストールする必要があります。プリインストールされた OneDrive アプリでは、OneDrive フォルダーを共有できません。これは、このアプリがローカルディレクトリを作成せず、クラウドストレージと直接連携するためです。<br></p><p>Windows OneDrive フォルダーを macOS と共有するには、次の手順に従います。</p><ol><li>OneDrive を Windows でまだセットアップしていない場合、まずセットアップします。</li><li><strong>[Mac から Windows フォルダーへのアクセス]</strong> を選択し、<strong>[OneDrive を Mac と共有する]</strong> を選択します。</li><li>macOS の Finder で、<strong>[Finder]</strong> > <strong>[環境設定]</strong> を選択し、<strong>[接続しているサーバー]</strong> を選択します。</li></ol><p>選択すると、Microsoft OneDrive フォルダーが macOS デスクトップにハードディスクとして表示されます。これらを使用して、ファイルを OneDrive にアップロードしたり、OneDrive からダウンロードしたりできます。<br></p><p><strong>注:</strong> これらの共有フォルダーが macOS デスクトップに表示され、これを使用して macOS からファイルをアップロードできるのは、Windows の実行中だけです。</p></td></tr><tr><td><strong>詳細</strong> > <strong>[Windows ネットワークドライブを Mac と共有]</strong>（Parallels Desktop for Mac Pro と Business/Enterprise Editions のみ）</td><td><p>選択すると、Windows でネットワークドライブに接続したとき、これらのドライブが macOS で利用できるようになります。そのドライブにアクセスするには、<strong>[Finder]</strong> サイドバー > <strong>[共有]</strong> セクションを選択し、仮想マシンの名前をクリックします。<br></p><p><strong>注:</strong> macOS 10.14 Mojave でこれらのドライブにアクセスするには、<strong>Finder</strong> サイドバー > <strong>[ネットワーク]</strong> セクションの順に移動して、仮想マシンの名前をクリックします。</p></td></tr><tr><td><strong>詳細</strong> > <strong>Windows 接続ドライブを Mac と共有</strong></td><td><p>選択すると、Windows に外部ドライブを接続したとき、これらのドライブが macOS で利用できるようになります。そのドライブにアクセスするには、<strong>[Finder]</strong> サイドバー > <strong>[共有]</strong> セクションを選択し、仮想マシンの名前をクリックします。<br></p><p><strong>注:</strong> macOS 10.14 Mojave でこれらのドライブにアクセスするには、<strong>Finder</strong> サイドバー > <strong>[ネットワーク]</strong> セクションの順に移動して、仮想マシンの名前をクリックします。</p></td></tr></tbody></table>


---

# Agent Instructions
This documentation is published with GitBook. GitBook is the documentation platform designed so that both humans and AI agents can read, navigate, and reason over technical content effectively. Learn more at gitbook.com.

## Querying This Documentation
If you need additional information that is not directly available in this page, you can query the documentation dynamically by asking a question.

Perform an HTTP GET request on the following URL with the `ask` and `goal` query parameters:

```
GET https://docs.parallels.com/landing/pdfm-ug/v27-ja-jp/parallels-desktop-for-mac-27-yzzugaido/parallels-desktop-tomashin/mashin/opushon/gong-you-she-ding.md?ask=<question>&goal=<user_goal>
```

`ask` is the immediate question: it should be specific, self-contained, and written in natural language.
`goal` is what the user is ultimately trying to achieve, the reason they need the answer. Sharing it helps GitBook give you a better, more relevant answer. A goal is most helpful when it describes the outcome the user wants rather than restating the question. For example, with `ask=how do I create an API token`, a goal like `build a script that syncs our docs to a CMS` lets GitBook tailor the answer to that use case.

The response will contain a direct answer to the question and relevant excerpts and sources from the documentation.

Use this mechanism when the answer is not explicitly present in the current page, you need clarification or additional context, or you want to retrieve related documentation sections.