Enrolling Parallels virtual machines in Azure Active Directory with Microsoft Intune enables managing and securing your virtual machine environment. To achieve that goal, you will have to create a provisioning package and deliver it to your end users. To learn more about provisioning packages for Windows, follow this link.
Warning: You will only be able to successfully enroll the machines deployed from an Autodeploy Package that includes a Windows virtual machine prepared for deployment, and with the vm_reset_hwid parameter in the deploy.cfg file set to "yes". For more information on configuring the Autodeploy Package, please refer to the respective section of this guide.
Be advised that setting this parameter to "yes" may affect active software licenses on the deploying machines; however, without this step, your Azure infrastructure will not be able to detect all the VMs as separate entities.
Follow these steps:
1. Install Windows Configuration Designer from Microsoft Store or download it directly from the Microsoft website.
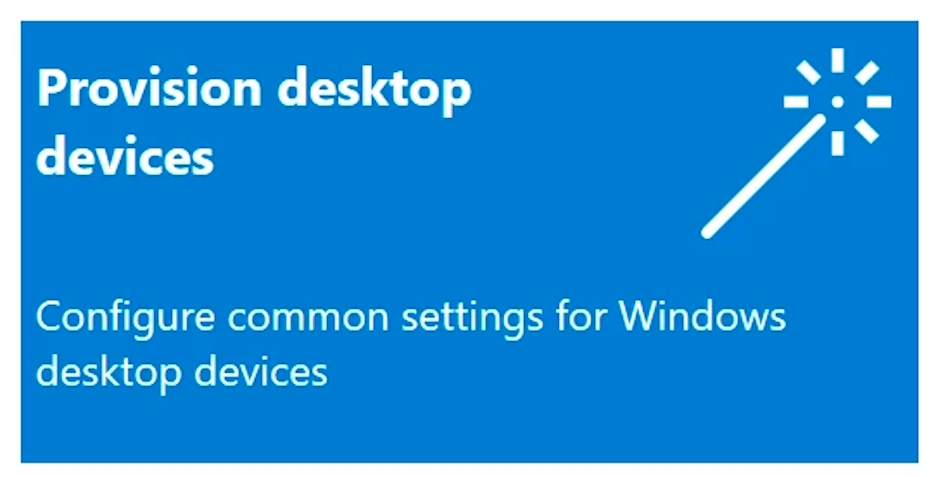
2. Once installed, launch it and create a new project following the Provision desktop devices template.
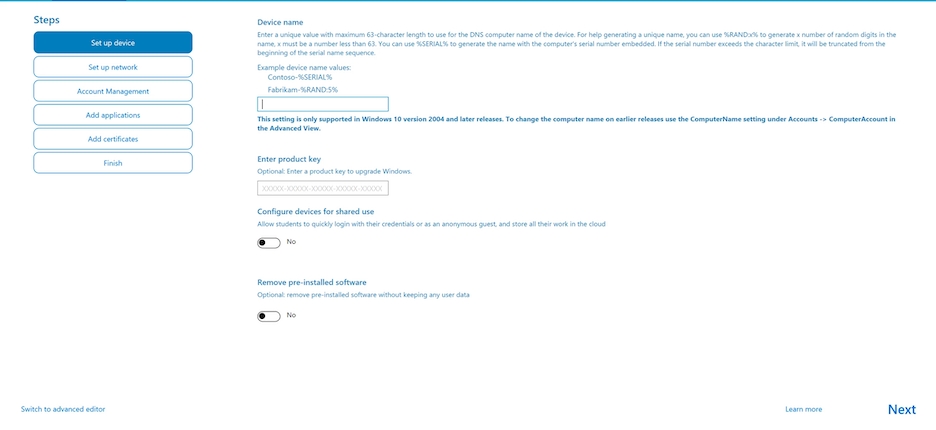
3. Once the project is created, you will see the following page:
At this point, you need to choose a name convention. Once done, click Next and switch to the Set up network tab. There, you need to switch off the setup network toggle and click Next, proceeding to the Account Management page.
Note: In Parallels Desktop for Mac, a virtual machine uses the host Mac's internet connection in a way specified by its settings. From Windows's point of view, the virtual network adapter is a standard Ethernet connection. Therefore, there is no need to separately connect the virtual machine to your company's corporate network.
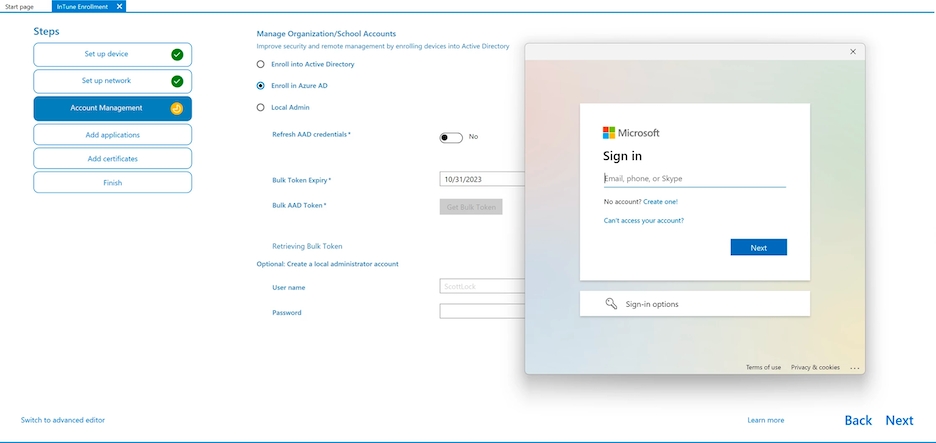
4. The following step is important: You need to select the Enroll in Azure AD option and obtain a bulk token.
Here, you need to sign in with your Microsoft Azure credentials. Once you’ve successfully signed in, you’ll see the message confirming the successful receipt of the token.
5. Click Next. Feel free to skip the remaining steps by clicking Next on each one of them.
6. Finally, you need to double-check your configuration summary and ensure everything is correct.
Click Create and memorize the path to the package file.
From this point, you have three possible ways to proceed:
Share the package with users who will need to launch it to enroll their virtual machines in Azure;
Install the package manually on every machine;
Add the package to the installation process as part of the SetupComplete.cmd script, as described in section 5 of this KB article.


